Choosing the best greenhouse involves balancing your gardening goals,budget,space,and local climate to create an optimal environment for plants.Greenhouses extend growing seasons,protect crops from weather and pests,and can support year-round production.Below is a step-by-step guide based on expert recommendations,drawing from key considerations like size,type,materials,site,and features.
Step 1:Define Your Needs and Budget
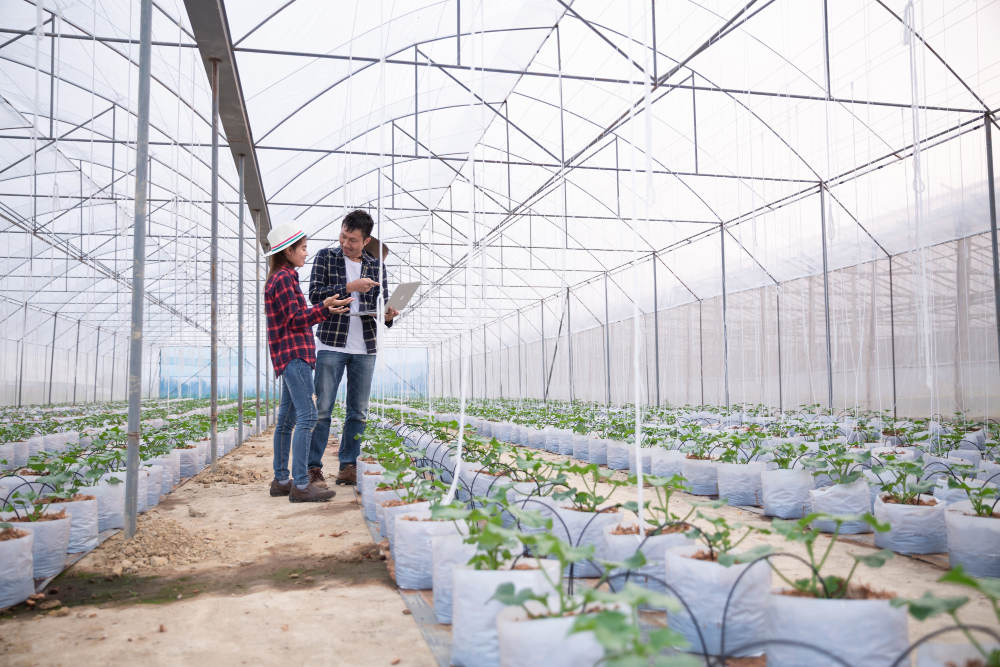
Start by assessing your purpose:Are you starting seeds,growing vegetables year-round,or cultivating exotic plants?Consider your climate(e.g.,cold winters requiring insulation or hot summers needing shade)and long-term goals,as these influence size and features.Set a realistic budget—entry-level models start affordable,but premium ones with durable materials cost more.Factor in potential expansions,as many gardeners later wish for larger spaces.Always buy from reputable manufacturers with strong warranties for UV protection and parts availability to ensure longevity.
Step 2:Determine the Size
Bigger is often better—choose the largest you can afford and fit in your space,as greenhouses fill up quickly with plants and tools.Minimum recommendations include:
Width:At least 6ft(1.8m)for basic access;8ft(2.4m)or more for staging on both sides.
Height:Eaves at least 5ft(1.5m)for light and headroom;taller for hanging plants or comfort.
Length:Increments of 2ft(60cm),starting from 6ft x 8ft for hobbyists.
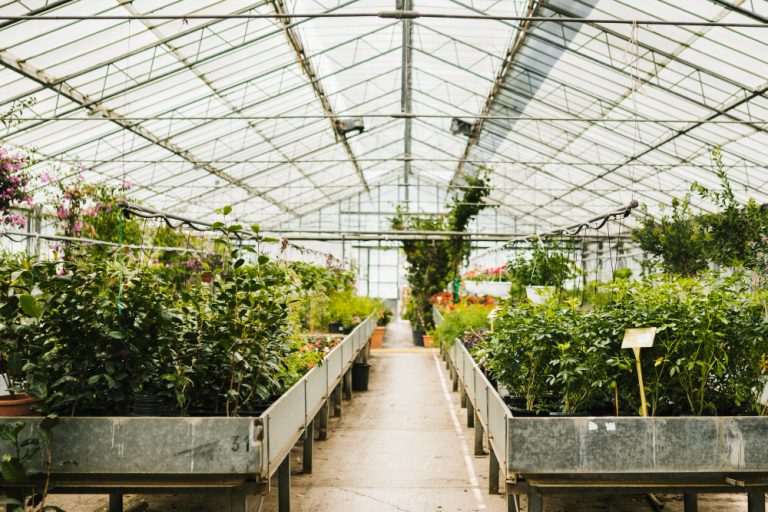
Consider interior space for benches,vertical growing,and workflow.If space is limited,opt for expandable models.
Step 3:Select the Type and Style
Greenhouses vary by design and temperature class:
Types by Size/Purpose:
Cold frames:Small,low-cost for seed starting and hardening off.
Starter:Mid-size for propagation and potting.
Grower:Large for full crop cycles.
Styles:
Freestanding(traditional peaked or dome):Versatile,good for open spaces.
Lean-to:Attaches to a wall(e.g.,south-facing house)for heat retention and space efficiency.
Round or geodesic:Fits awkward areas,offers strength against wind/snow.
Temperature Classes:
Cool(40–45°F):For starters,no extra heat needed.
Warm(50–55°F):For garden veggies,may need lights.
Hot(65°F+):For tropics,requires heating.
Match the type to your plants and site—e.g.,lean-to for urban gardens.
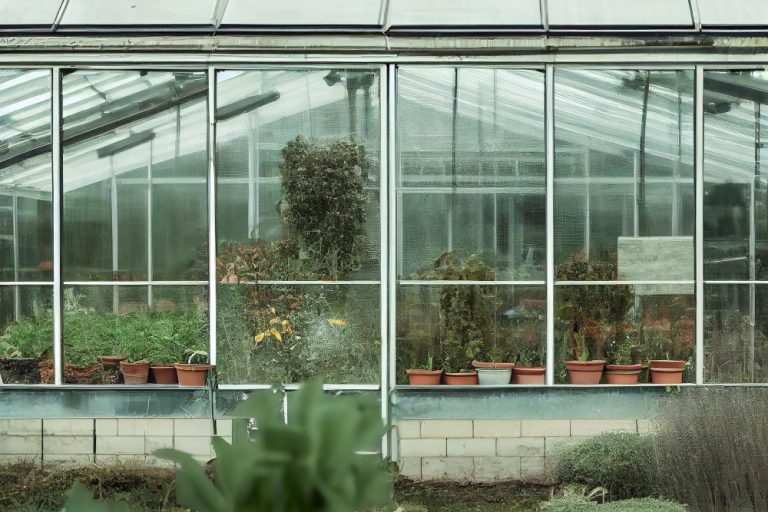
Step 4:Choose Materials for Frame and Glazing
Materials affect durability,light,insulation,and maintenance.Use the table below for comparisons.
| Material Type | Options | Pros | Cons | Best For |
|---|---|---|---|---|
| Frame | Aluminum | Lightweight, rust-resistant, low-maintenance, customizable colors. | Less insulating. | Most budgets; powder-coated for aesthetics. |
| Galvanized Steel | Strong, affordable. | Heavy, may rust over time. | Windy areas. | |
| Wood (e.g., cedar) | Aesthetic, better temperature stability. | Prone to rot, higher maintenance. | Traditional looks; treat for longevity. | |
| Plastic Resin | Attractive, low conductivity (stays cooler). | Less sturdy for large models. | Small hobby greenhouses. | |
| Glazing/Covering | Horticultural Glass | Maximum light, durable, easy to replace. | Breaks easily, poor insulation. | Clear light for seedlings. |
| Toughened Glass | Safer (shatters into pebbles), good light. | More expensive. | Families or high-traffic areas. | |
| Polycarbonate (single/twin/triple-wall) | Unbreakable, insulating, diffuses light (up to 100% in some like Solexx). | Less light transmission, may yellow or pop in wind. | All-season use; twin-wall for better R-value (insulation). | |
| Polyethylene Film | Cheap, semi-diffused. | Short lifespan (2–3 years), tears easily. | Temporary or budget setups. | |
| Fiberglass | Diffused light, lightweight. | Degrades in sun, hard to clean. | Older models. |
Prioritize UV-treated coverings for longevity and light diffusion to promote even plant growth(20–30%faster than direct light).
Step 5:Select the Site
Position for maximum sun(southern exposure),wind protection,and accessibility:
Orient with the long side or end facing east/south for full sun.
Avoid shade from trees/buildings;use nearby structures for windbreaks.
Ensure level ground;prepare a foundation(slabs,gravel,or concrete for larger models)for stability and drainage.
Proximity to water/electricity is ideal for accessories.
Step 6:Ensure Proper Ventilation and Climate Control
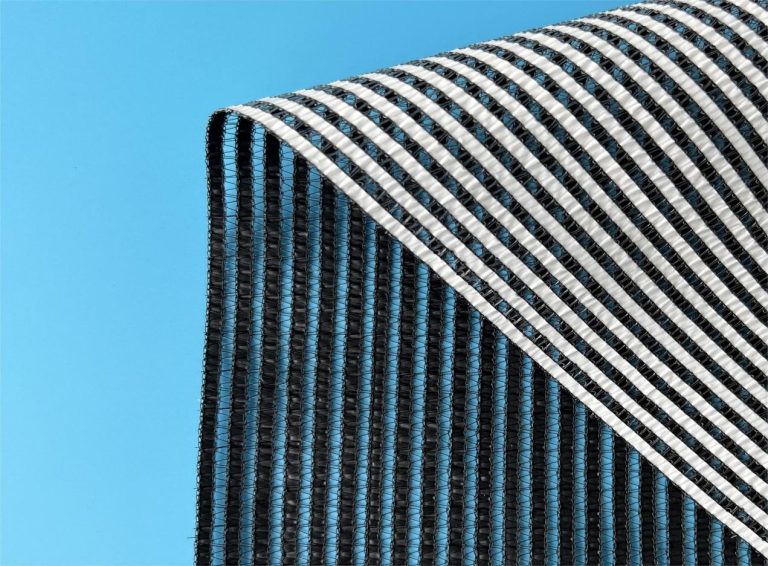
Overheating is a common issue—look for vents at roof and base for airflow.Add automatic openers,exhaust fans,or solar louvers.For cold climates,prioritize insulation(higher R-value materials)and optional heaters.Shade cloth helps in hot seasons.
Step 7:Prioritize Durability and Weather Resistance
Choose designs that handle local hazards(e.g.,peaked roofs for snow shedding,reinforced frames for wind/hail).Check for impact-resistant glazing and overall sturdiness to avoid frequent repairs.
Step 8:Consider Accessories and Modifiability
Enhance with:
Adjustable shelving/staging for organization.
Automatic irrigation(drip systems)for watering.
Heaters,grow lights,or benches.
Braces for stability.
Opt for modular designs for future additions.
Step 9:Assembly,Maintenance,and Purchase
Most come as kits;assembly takes a weekend with basic tools.Ensure easy maintenance(e.g.,scratch-resistant surfaces).Research warranties and insurance.Buy from trusted sources like specialized catalogs or sites for quality assurance.
By evaluating these factors,you’ll select a greenhouse that suits your needs and lasts for years.If possible,visit showrooms or read user reviews for real-world insights.