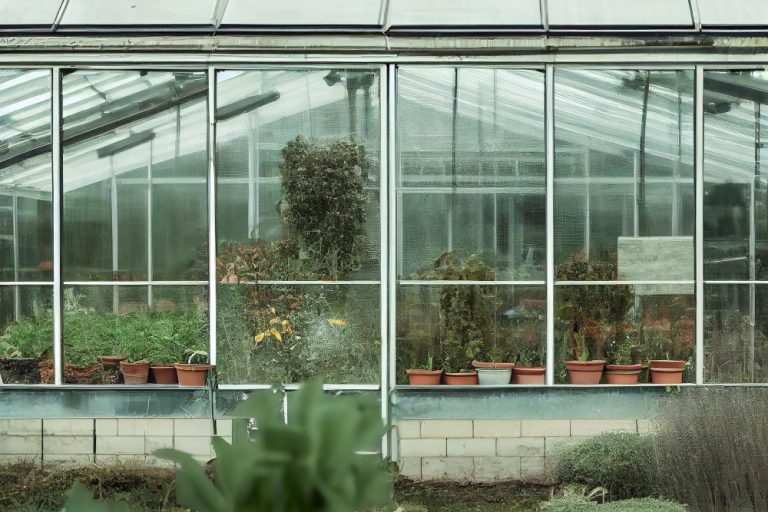
Yes,I can provide instructions based on reliable online sources for attaching shade cloth on the inside of a greenhouse.Note that while shade cloth can be installed internally,several experts recommend external installation for better heat reduction,as internal placement may trap more heat inside the structure(though it’s easier to manage and protects the cloth from wind and weather).
Internal installation is often preferred for hoop houses or when you want the cloth to be adjustable(e.g.,slidable for partial shading).
Preparation Tips
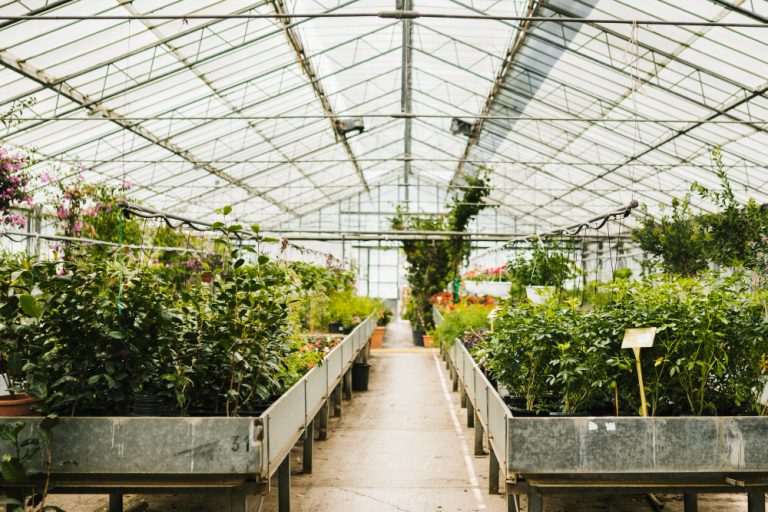
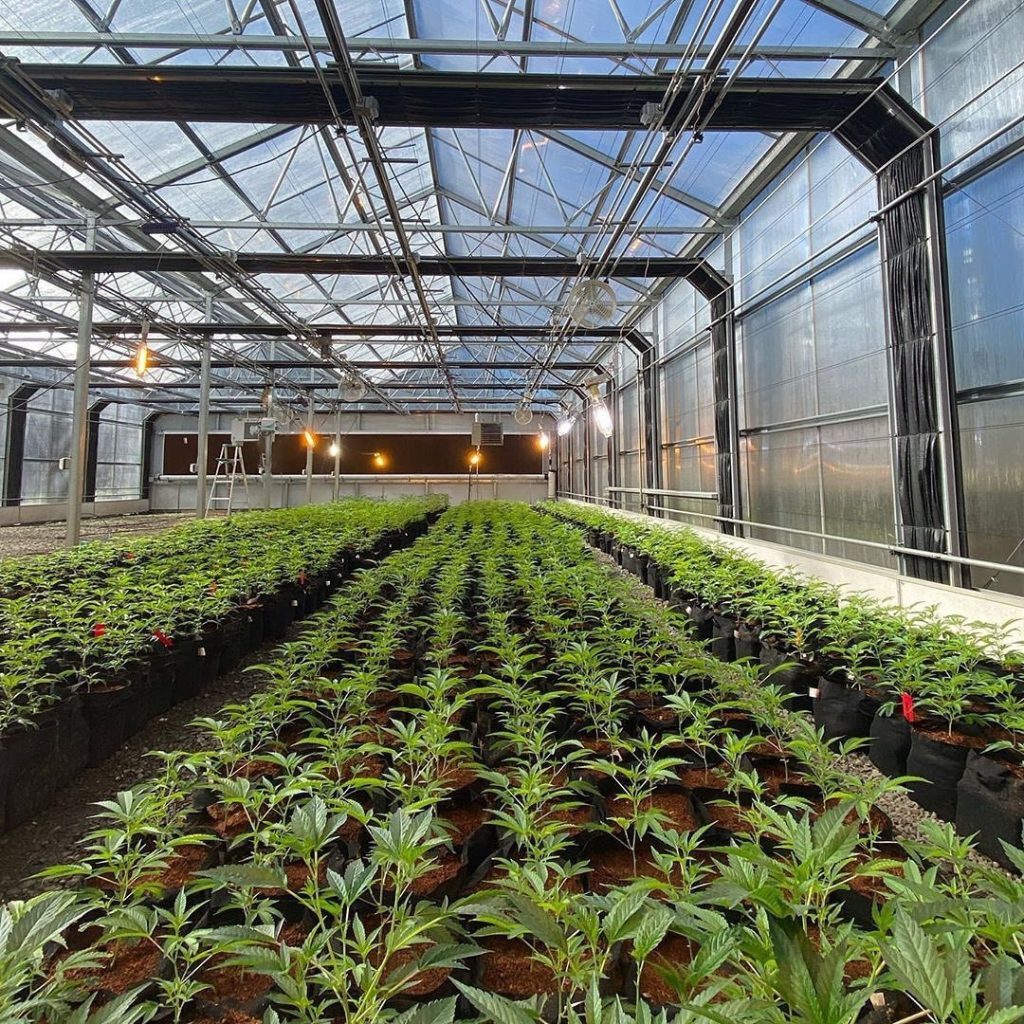
Measure your greenhouse’s interior dimensions(length,width,and height)to cut or order shade cloth that fits snugly,typically covering the roof and south/west-facing walls for maximum effect.
Choose a shade density(e.g.,30-50%for moderate climates)based on your plants’needs and local sunlight.
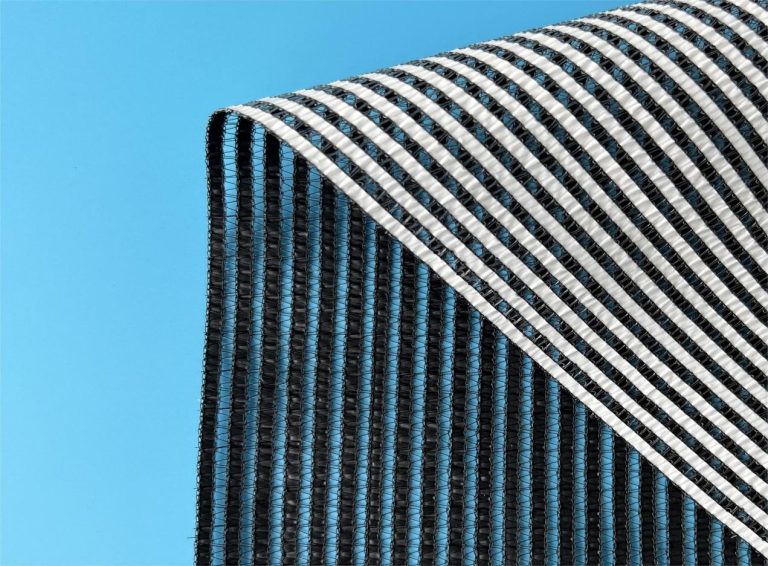
Opt for cloth with grommets(reinforced holes)for easier attachment.
You’ll need tools like a ladder,drill,screws/hooks,clips,wire/cable,or rods.
Method 1:Using Clips or Snap Clamps(Simple for Most Greenhouses)
This is a straightforward approach for rigid-frame or hoop-style greenhouses.
Identify attachment points on the interior frame(e.g.,along the roof peak,hip boards,or hoops).
Install spring wire,lock channels,or hooks along these points if not already present.
Attach shade cloth clips or snap clamps to the cloth’s edges—place one at each corner and every 3 feet along the sides for secure hold.
Clip the cloth directly to the frame or hoops,starting from the top and working down.For hoop houses,drape it between the plastic covering and the hoops for easy removal.
Weigh down the bottom edges with sandbags if needed to prevent flapping.
This method allows for quick installation/removal and is effective for reducing light and heat internally.
Method 2:Using Cables,Wires,or Rods(For Adjustable Shading)
Ideal for smaller greenhouses(e.g.,6×8 ft)or when you want to slide the cloth open/closed like a curtain.
Install 2-3 thick cables,wires,or curtain rods horizontally across the interior ceiling,spaced evenly(e.g.,one at the peak and others along the sides).Use hooks or screws to secure them to the frame.
Attach the shade cloth to the cables using rings,clips,or ties—thread them through grommets if available.
Drape or hang the cloth from the cables,allowing it to slide back and forth for adjustable coverage.
Secure the sides and bottom with additional clips or weights to keep it in place.
This setup is praised for ease of use and temperature control,especially with fans for ventilation.
A variation uses electrical conduit pipes(painted for aesthetics)as rods to hang burlap-style shade cloth.
Additional Considerations
Pros of Internal Attachment:Protected from wind damage,easier to install/remove seasonally,and can be adjusted without going outside.It’s common in commercial setups for light moderation.
Cons:Less effective at cooling(heat from absorbed sunlight stays inside),potential for dirt buildup between layers,and may require better ventilation to avoid humidity issues.
Test the setup on a small section first,and combine with fans or vents for optimal results.
For visual demos,check YouTube tutorials like”Installing a Greenhouse Shade Cloth”for similar techniques(though some show external methods).
If your greenhouse type(e.g.,hoop,lean-to)or size differs,or if you need more specifics,provide details for tailored advice!